
Adding Users and Assigning Roles
How to invite team members and assign roles like admin or agent?
Adding Users and Assigning Roles
Collaborating with your team is easier when everyone has access to Qpien. Here’s how you can invite new members and assign the right roles.
How to Invite Team Members
From the left-side menu, go to Settings.
Under the Settings section, click on Users.

In the top right corner, click the “Invite User” button.
Fill in the required details for each teammate:
Email address
Role (Admin, User, or Limited User)

To add more people, click the “Add more” button.
When you're done, click “Invite” to send invitations.
Your teammates will receive an invitation via email to join your Qpien workspace.
Manage Invitations and Roles
Once invited, you can view the verification status of each user (Verified / Not Verified).

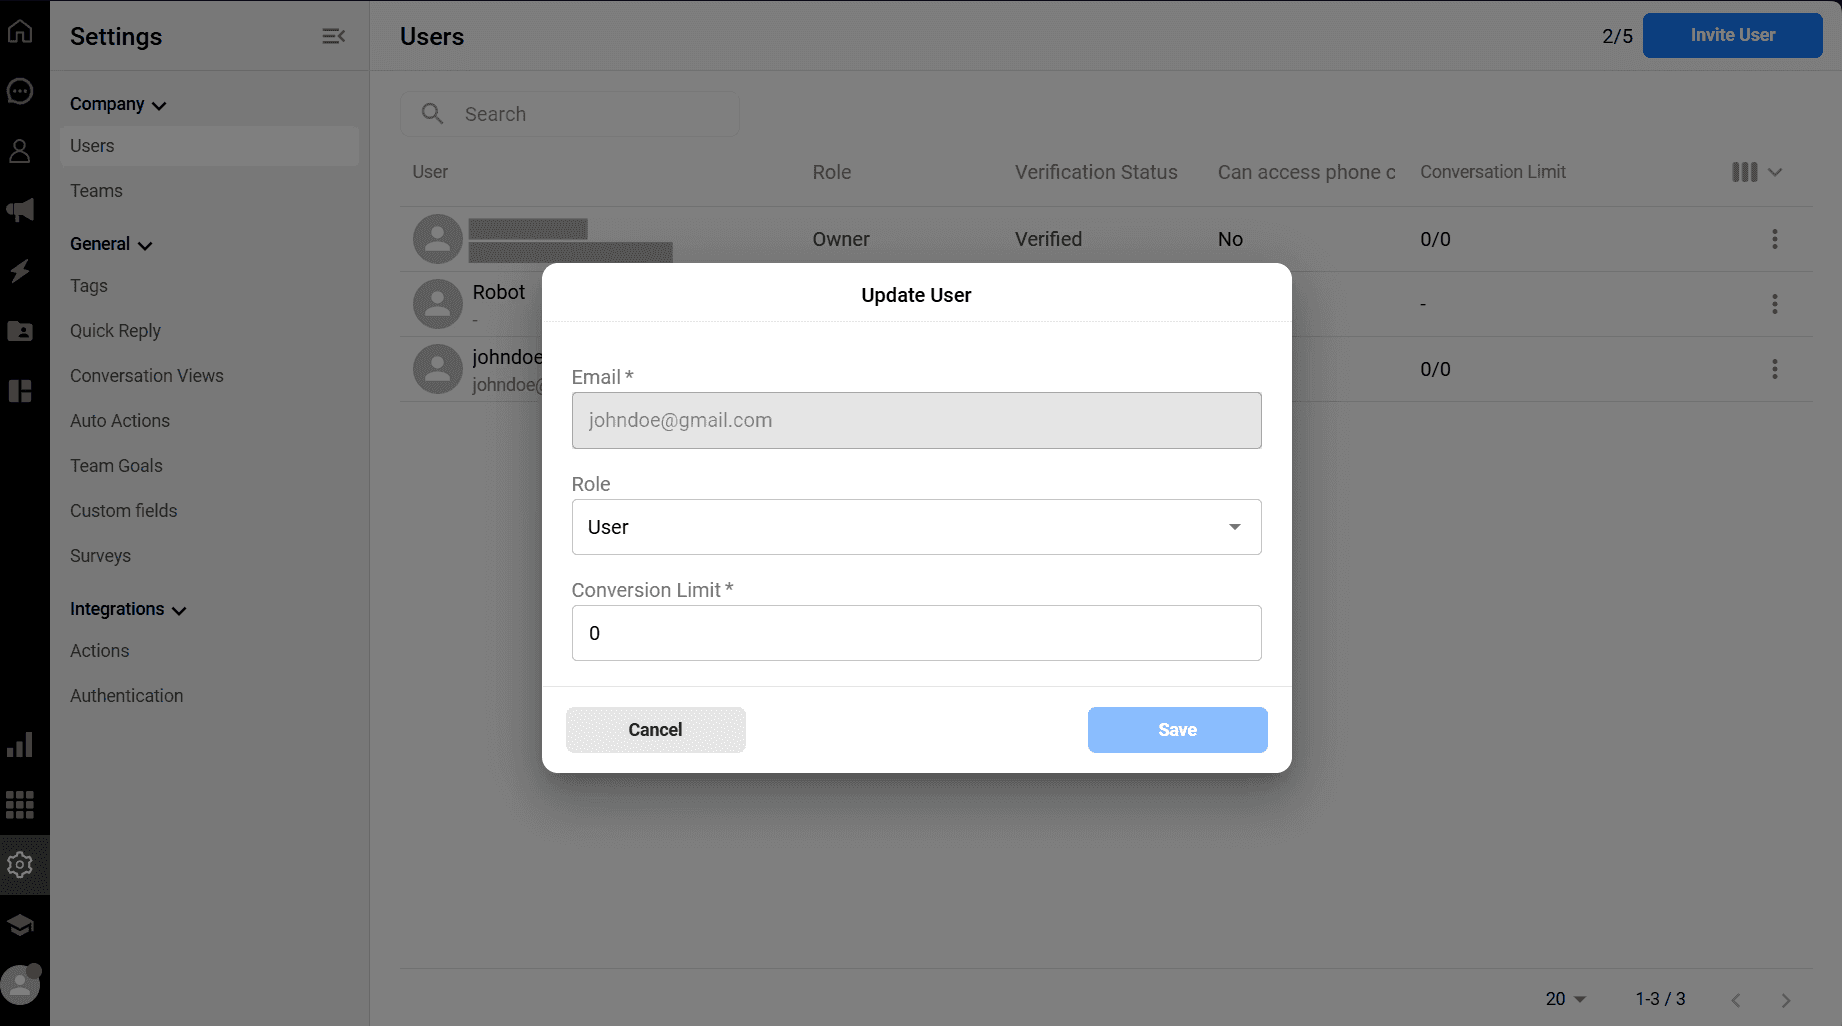
To edit or delete an invitation or user:
Click the three dots at the end of the user row.
Select Edit to change the assigned role or set a conversation limit.
Select Delete and enter the invited email address again for confirmation.

✅ Roles Overview:
Admin: Full access to all settings and features
User: Access to conversations and most tools
Limited User: Restricted access, suitable for temporary or read-only roles