
Account setup
Personalizing Your Account: Profile Settings and Security (2FA)
The Profile tab in Qpien is the area where users can manage their personal information and set their work status.
Managing your profile on Qpien ensures that your team recognizes your contributions and your account remains secure. This guide covers how to personalize your profile information, adjust regional settings like language and time zones, and activate Two-Factor Authentication (2FA) for enhanced security.
Accessing Your Profile Settings
To begin customizing your account,
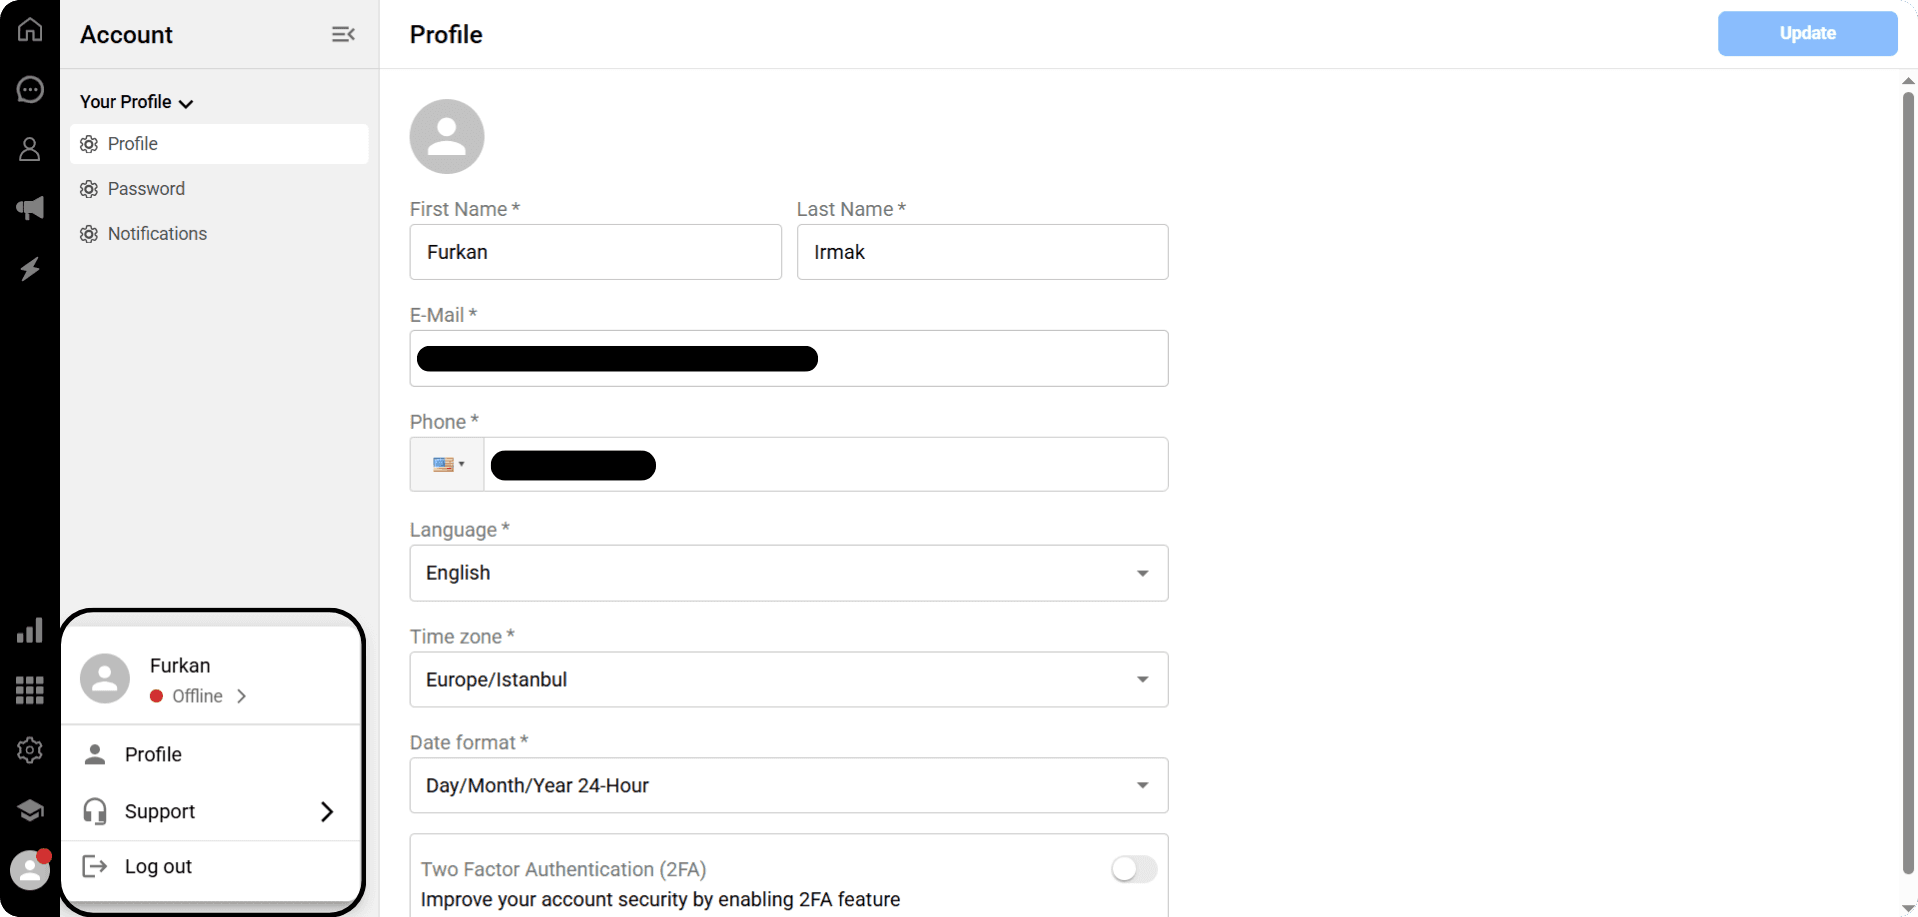
-> Click on your Profile Avatar in the lower-left corner of the dashboard.
This opens the quick-access panel where you can see your status, name, profile and other options.
How to Change Your Status?
-> Click on the word “Offline”.
-> You can change your status by selecting the appropriate option here.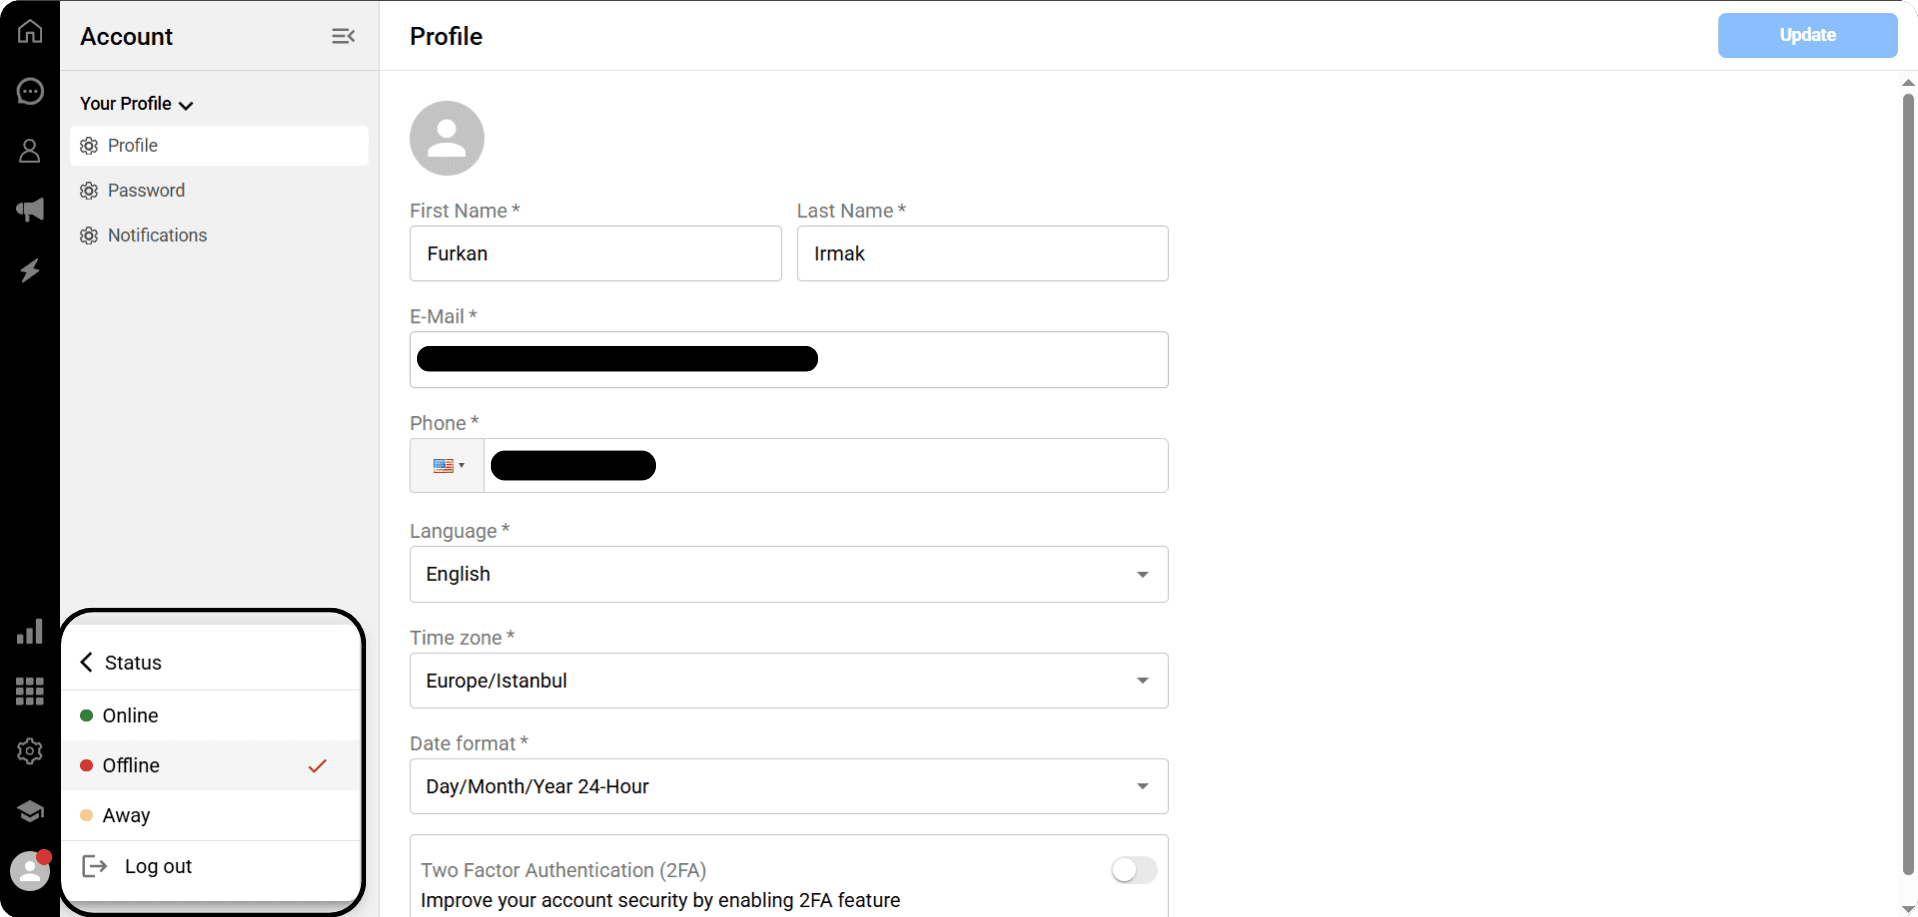
How to Update Your Profile?
-> Click on “Profile” to open the “Account” page where your profile information is located.
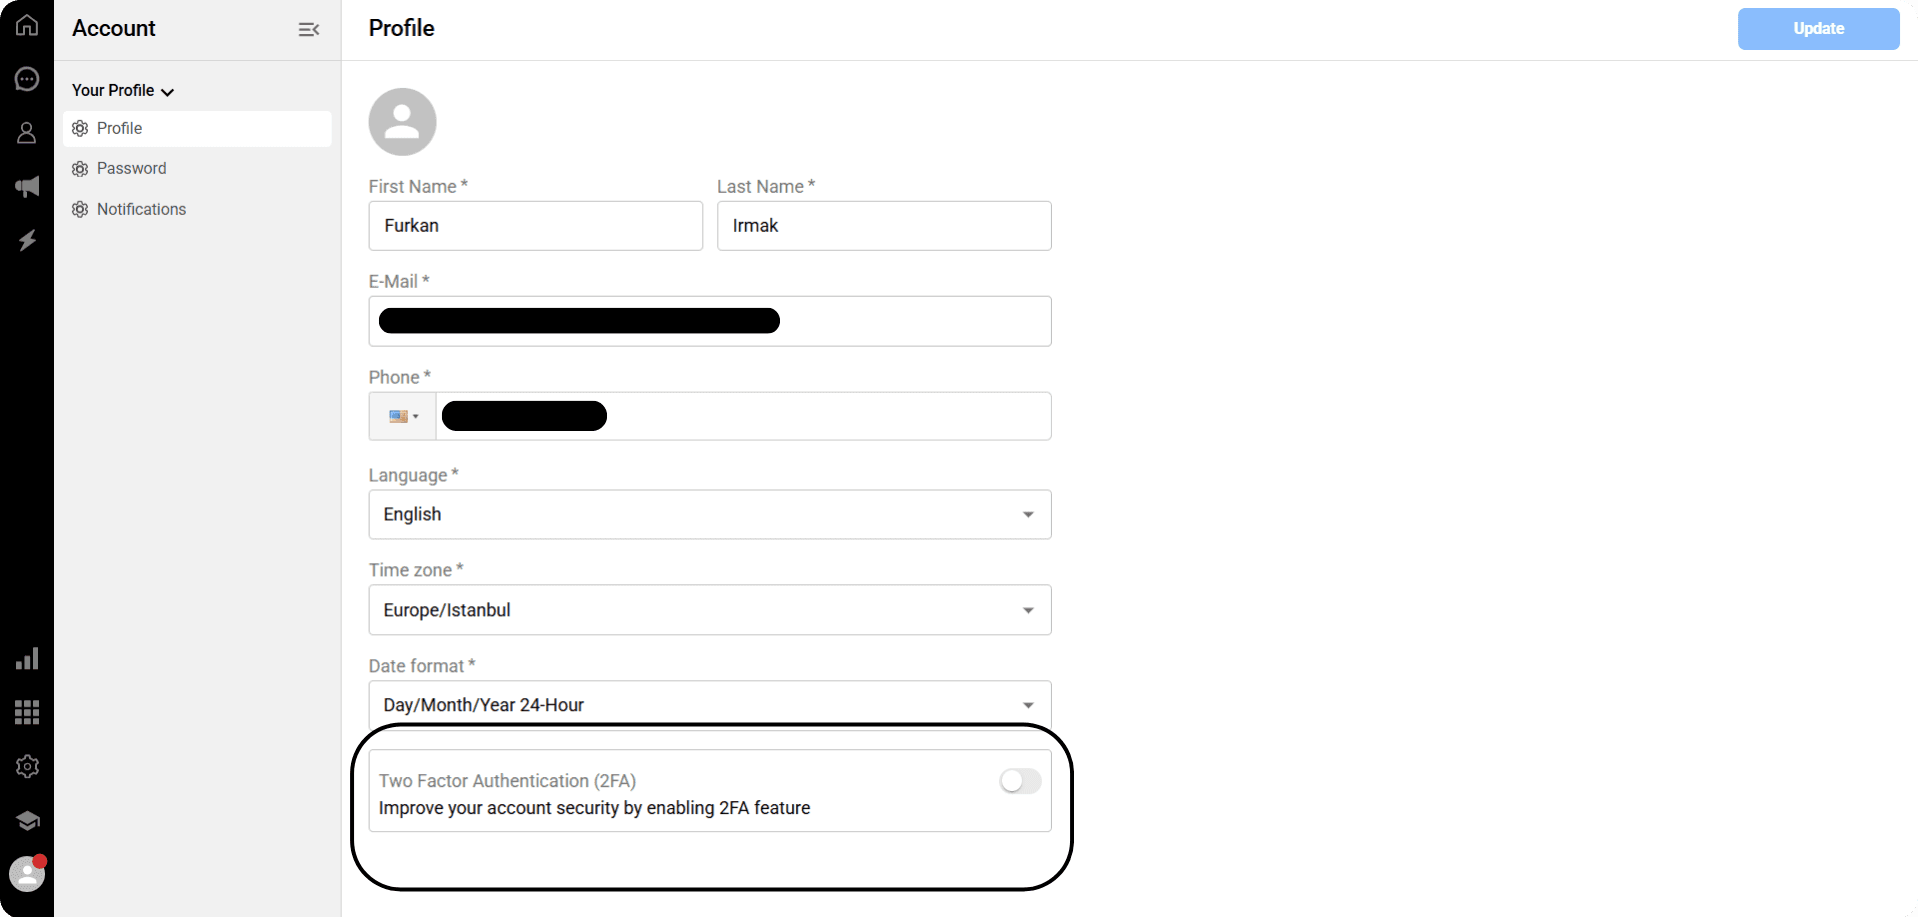
On the page that opens, you can view and update all the information in your profile.
The update process is detailed as follows:
-> Updating your avatar: Click on your avatar to select and add a new photo from your computer.
-> Deleting or updating the current photo: You can remove a previously added photo or replace it with a new one.
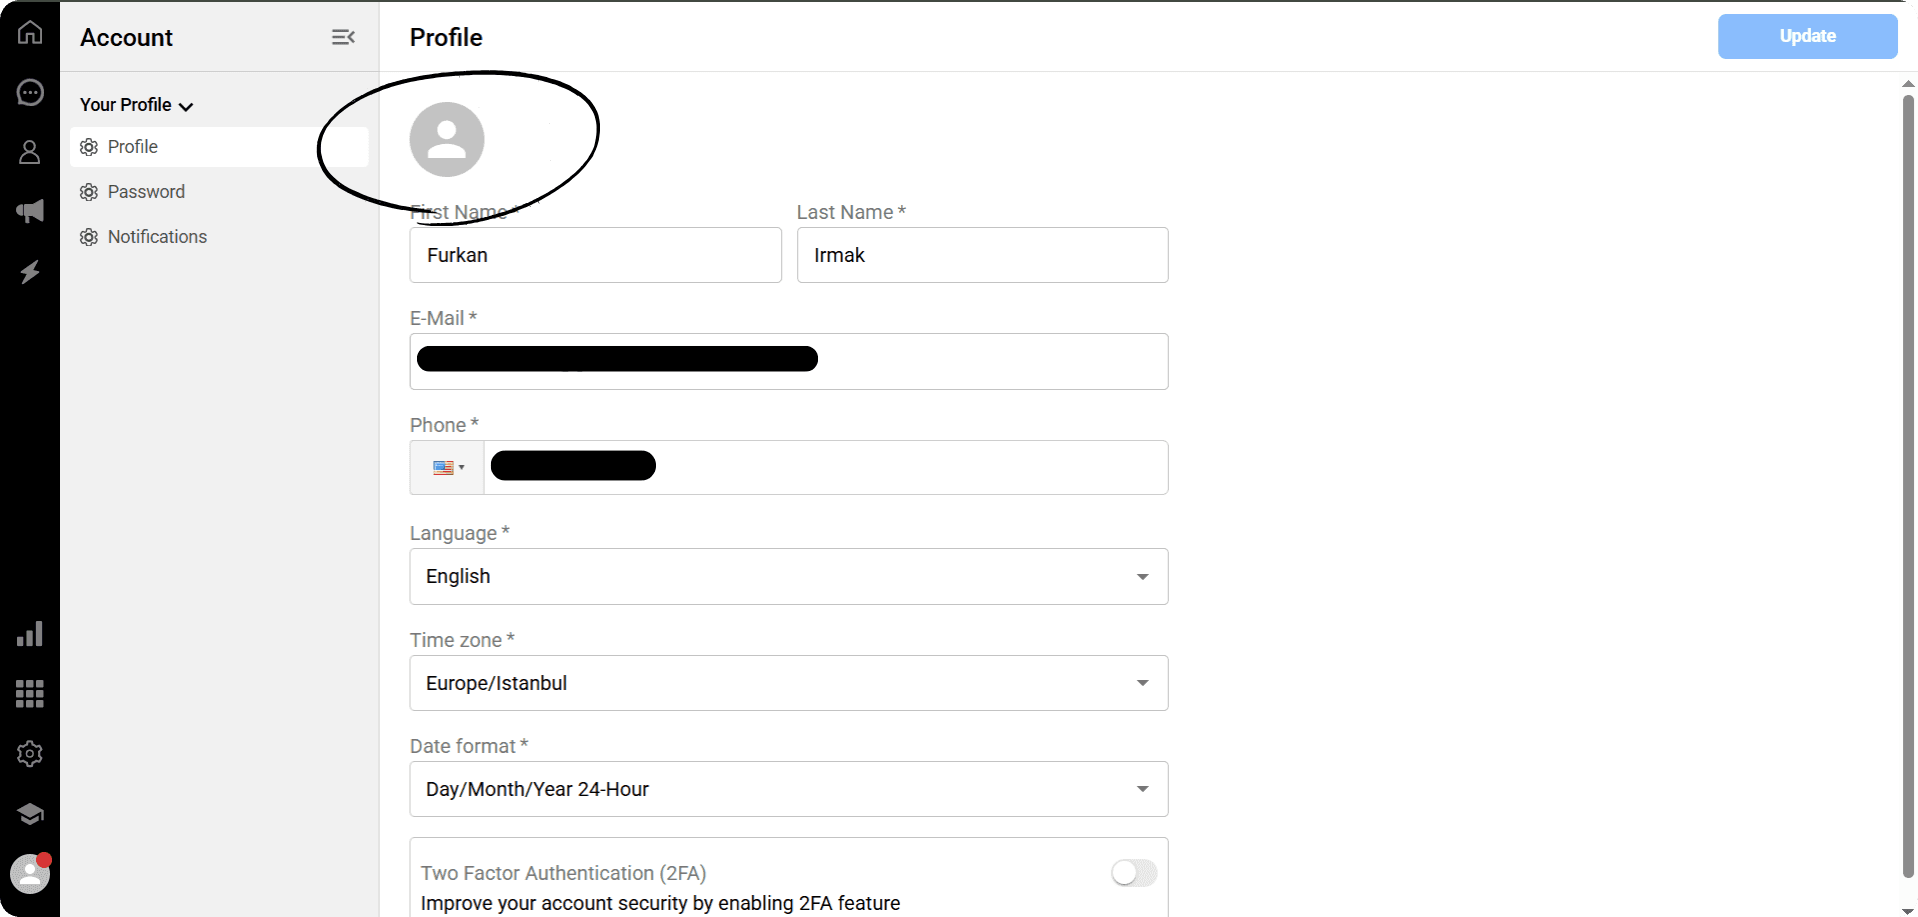
-> To update information such as your first name, last name, email address, and phone number, click on the relevant field and make changes by entering the desired information.
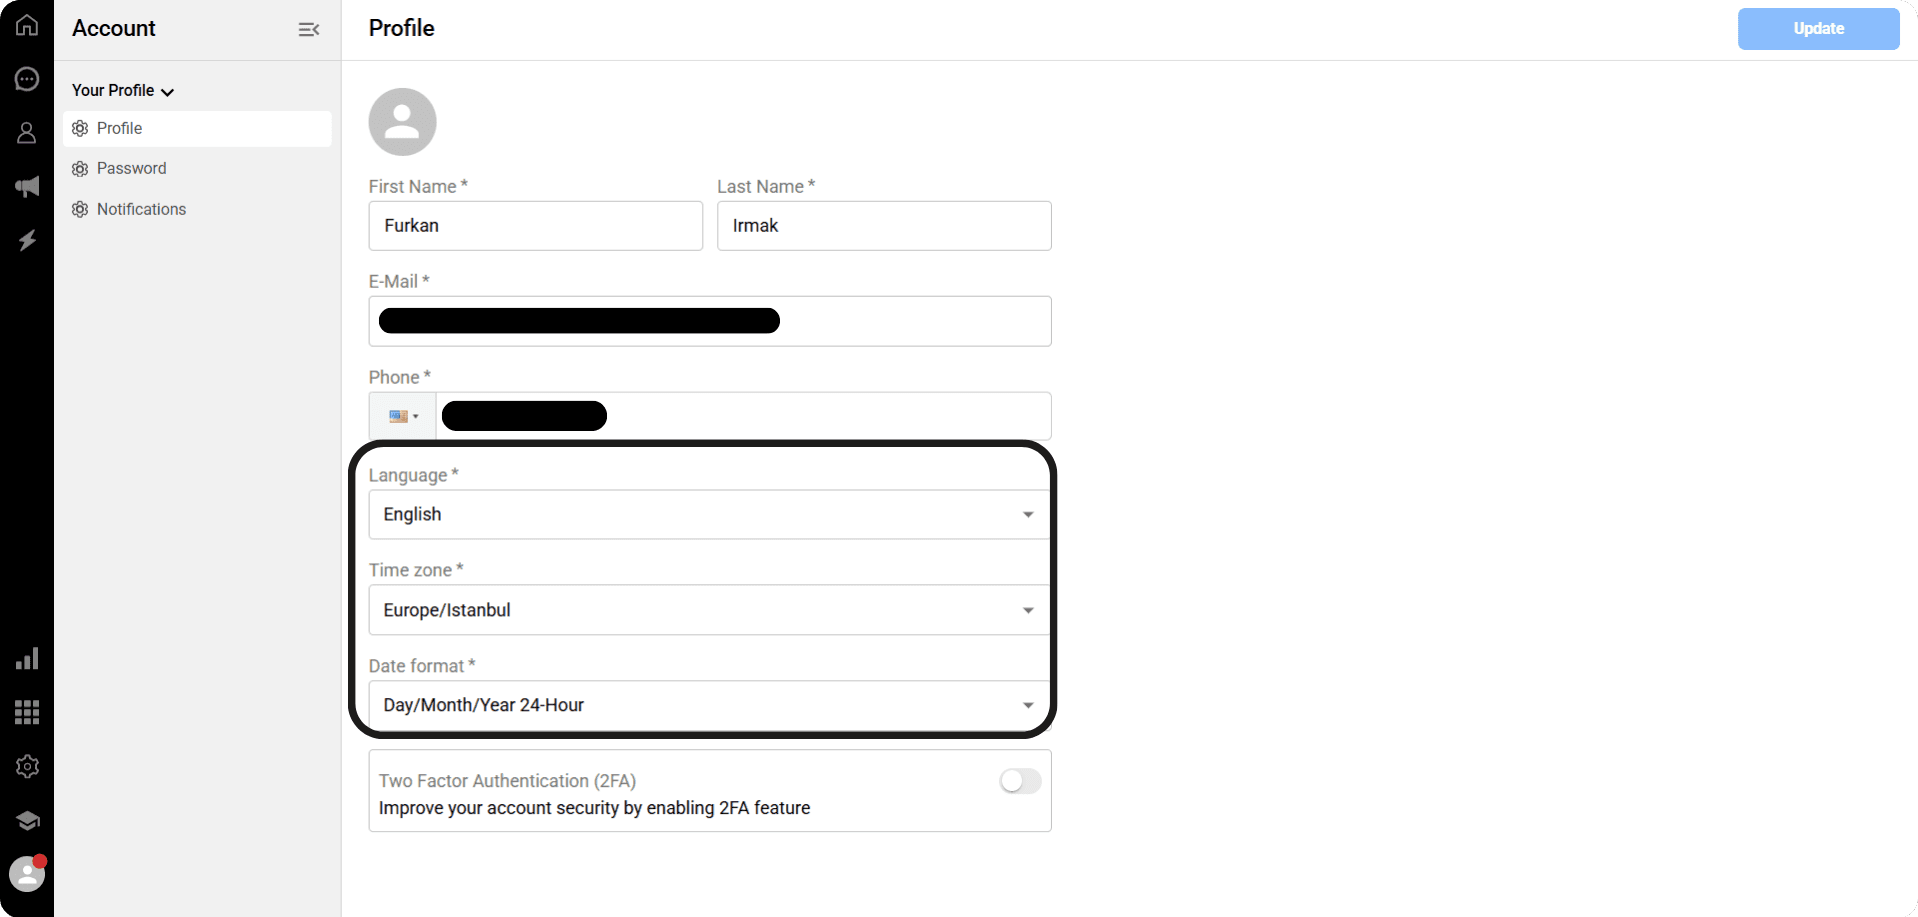
-> Additionally, you can select the platform's language as Turkish, English, Arabic from the “Language” section and start using it.
-> In the “Time Zone” field, you can select and set the time zone appropriate for your region and city.
-> In the “Date Format” field, you can easily change the date to “day/month/year” or “month/day/year” format, and the time to 12-hour or 24-hour format.
💾 You can save your changes by clicking the “Update” button in the upper right corner.
Two-Factor Authentication (2FA)
Two-Factor Authentication (2FA) adds an extra layer of protection by requiring a code from your mobile device during login.
Setup Process:
Download the Google Authenticator app on your mobile device.
In the Security section, click Add under Two-Factor Authentication.
Scan the provided QR Code using the app to link your Qpien account.

Enter the 6-digit verification code generated by the app into the panel and click Save.
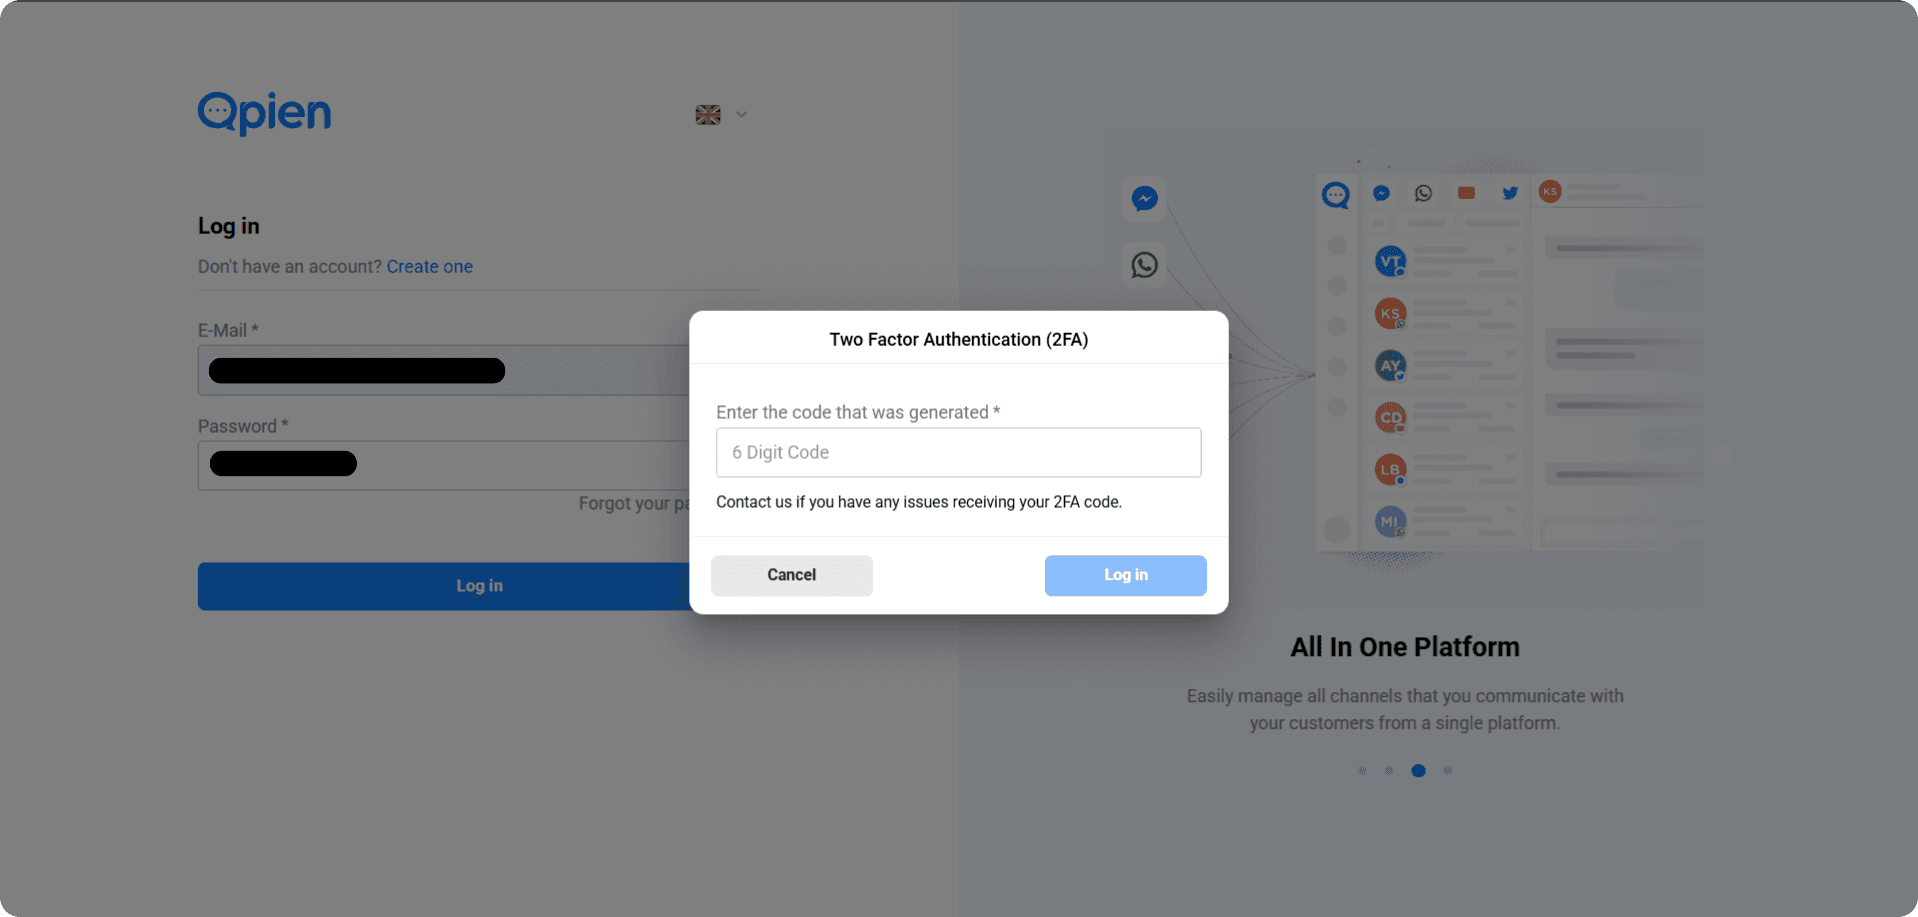
Logging In with 2FA:
Once activated, every time you log in with your email and password, Qpien will ask for your 2FA code.
-> Here, open the Google Authenticator app, select Qpien, and enter the 6-digit code displayed there into this field.
-> Then, click the “Log In” button.
🚨 On this page, the two-factor authentication you’ve set up applies only to your own account. It does not affect other users.
🚨 If you disable two-factor authentication, you also need to delete the Qpien option from the Google Authenticator app.
🚨 If you want to enable two-factor authentication again, you will need to create the Qpien option in Google Authenticator. You cannot use the one you previously created.
Managing your profile on Qpien ensures that your team recognizes your contributions and your account remains secure. This guide covers how to personalize your profile information, adjust regional settings like language and time zones, and activate Two-Factor Authentication (2FA) for enhanced security.
Accessing Your Profile Settings
To begin customizing your account,
-> Click on your Profile Avatar in the lower-left corner of the dashboard.
This opens the quick-access panel where you can see your status, name, profile and other options.
How to Change Your Status?
-> Click on the word “Offline”.
-> You can change your status by selecting the appropriate option here.How to Update Your Profile?
-> Click on “Profile” to open the “Account” page where your profile information is located.
On the page that opens, you can view and update all the information in your profile.
The update process is detailed as follows:
-> Updating your avatar: Click on your avatar to select and add a new photo from your computer.
-> Deleting or updating the current photo: You can remove a previously added photo or replace it with a new one.
-> To update information such as your first name, last name, email address, and phone number, click on the relevant field and make changes by entering the desired information.
-> Additionally, you can select the platform's language as Turkish, English, Arabic from the “Language” section and start using it.
-> In the “Time Zone” field, you can select and set the time zone appropriate for your region and city.
-> In the “Date Format” field, you can easily change the date to “day/month/year” or “month/day/year” format, and the time to 12-hour or 24-hour format.
💾 You can save your changes by clicking the “Update” button in the upper right corner.
Two-Factor Authentication (2FA)
Two-Factor Authentication (2FA) adds an extra layer of protection by requiring a code from your mobile device during login.
Setup Process:
Download the Google Authenticator app on your mobile device.
In the Security section, click Add under Two-Factor Authentication.
Scan the provided QR Code using the app to link your Qpien account.
Enter the 6-digit verification code generated by the app into the panel and click Save.
Logging In with 2FA:
Once activated, every time you log in with your email and password, Qpien will ask for your 2FA code.
-> Here, open the Google Authenticator app, select Qpien, and enter the 6-digit code displayed there into this field.
-> Then, click the “Log In” button.
🚨 On this page, the two-factor authentication you’ve set up applies only to your own account. It does not affect other users.
🚨 If you disable two-factor authentication, you also need to delete the Qpien option from the Google Authenticator app.
🚨 If you want to enable two-factor authentication again, you will need to create the Qpien option in Google Authenticator. You cannot use the one you previously created.
Try Qpien free for 14 days! 🎉
Ready to take control of all your support channels?
Empower your customer interactions with Qpien! Boost sales and elevate satisfaction with every conversation.
Try Qpien free for 14 days! 🎉
Ready to take control of all your support channels?
Empower your customer interactions with Qpien! Boost sales and elevate satisfaction with every conversation.
Try Qpien free for 14 days! 🎉
Ready to take control of all your support channels?
Empower your customer interactions with Qpien! Boost sales and elevate satisfaction with every conversation.