Flow Bots
Design custom conversation flows to answer common questions, guide users, and reduce repetitive replies.
Flow Bots – Automate Your Conversations, Step by Step
Flow Bots help you automate conversations by defining logic-based, event-triggered responses. This guide explains how to create and test your first flow, using structured inputs and visual building blocks.
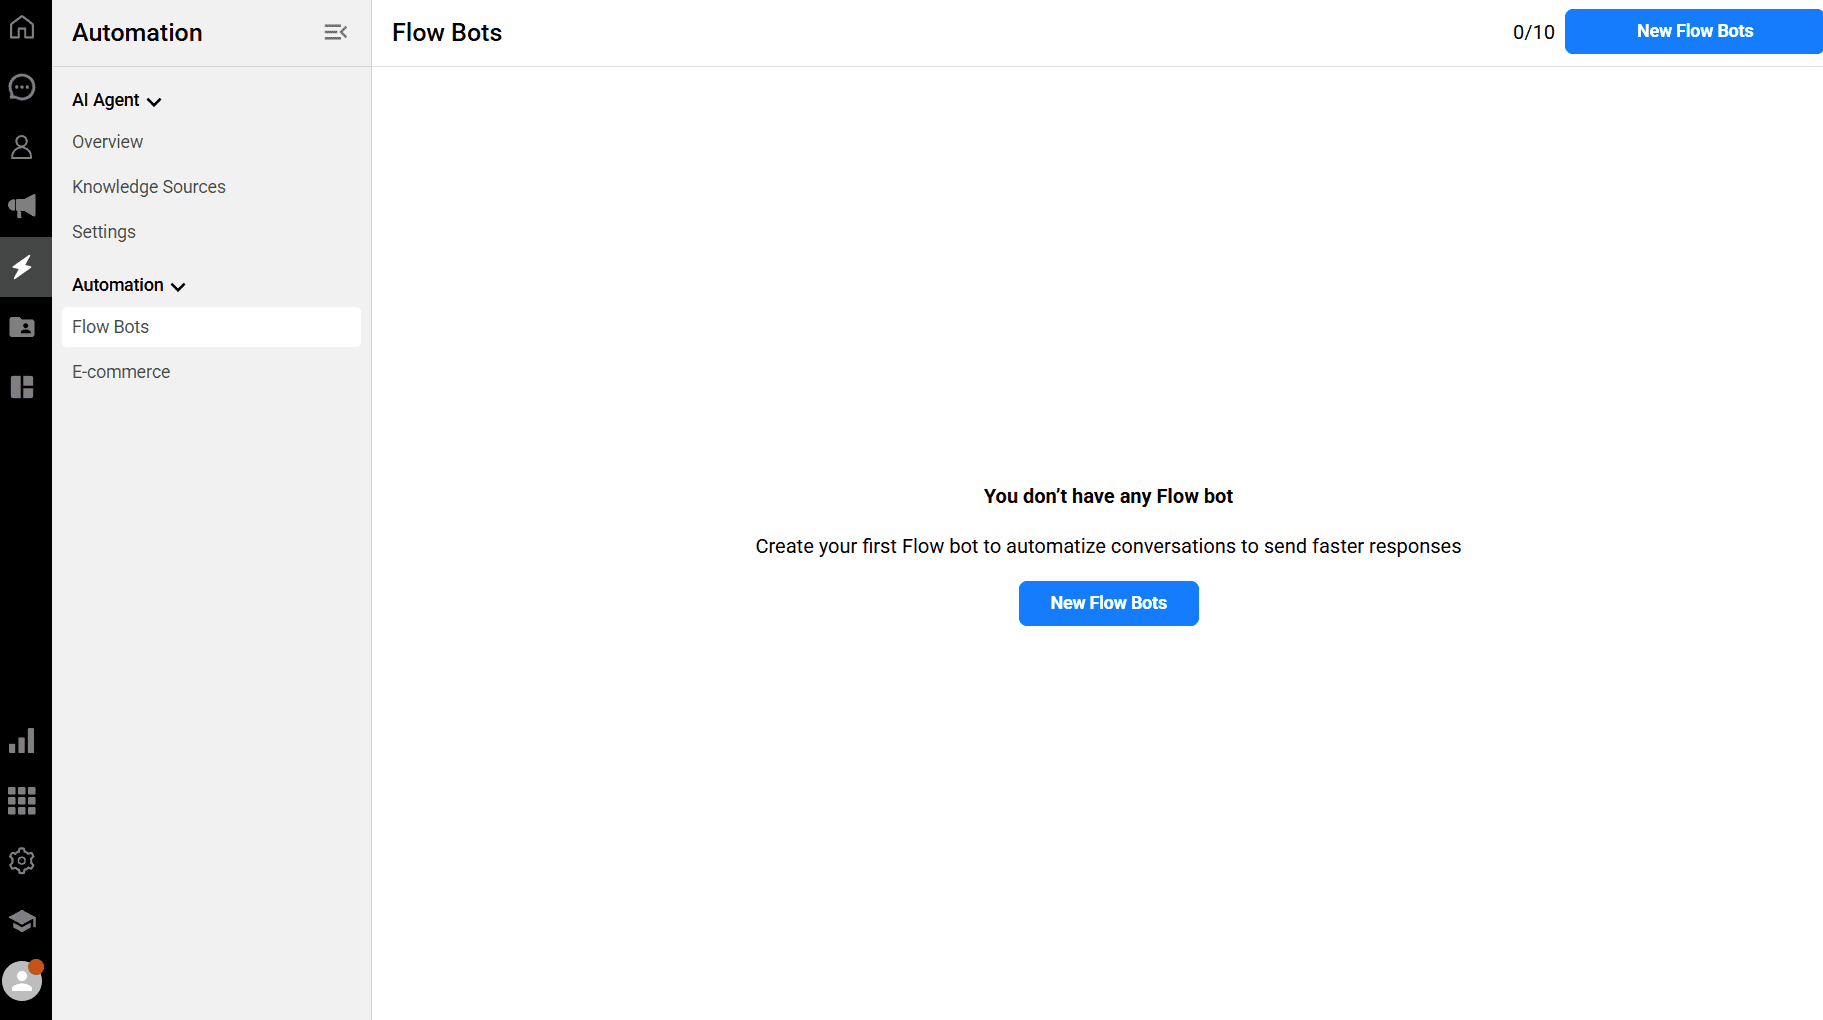
1. Getting Started
When you first navigate to the Automation > Flow Bots page, you’ll see a blue “New Flow Bot” button in the center of the screen.
If you haven’t created any bots yet, the message will read:
You don’t have any Flow Bot.
Create your first Flow Bot to automatize conversations and send faster responses.
Click New Flow Bot to begin.
2. Naming Your Bot
A popup window will appear with a field labeled:
Name* → Type the name of your bot
Then click “Create Flow Bot.”
Your bot is now created and ready to be configured.

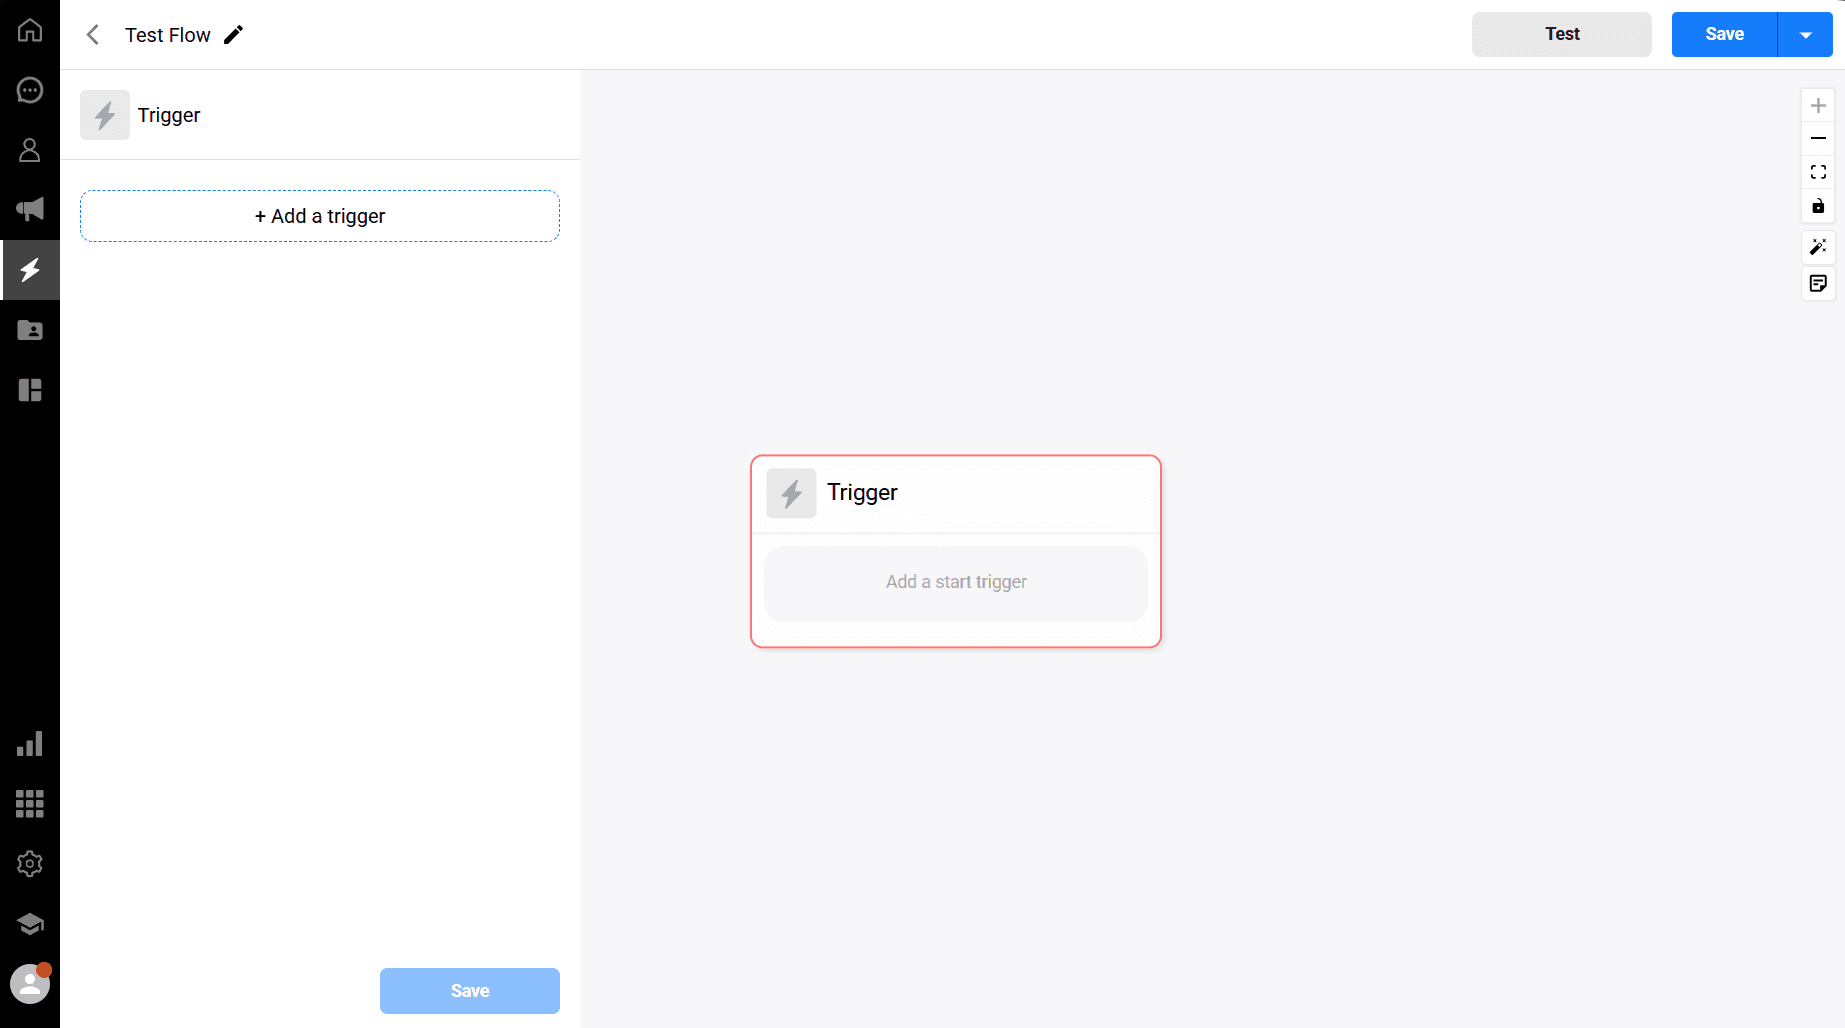
3. Setting a Trigger
To activate your bot, you must define a trigger — the condition that will start the flow.
Available triggers:
New Contact Created – Runs when a contact is added to your database.
Contact Updated – Triggers when contact data is changed.
User sends a message – Replies automatically when a direct message is received (e.g. via Live Chat).
User visits a page – Sends a message when a user visits your website.
User sends a message (WhatsApp) – Automatically replies when a user sends a message via WhatsApp.
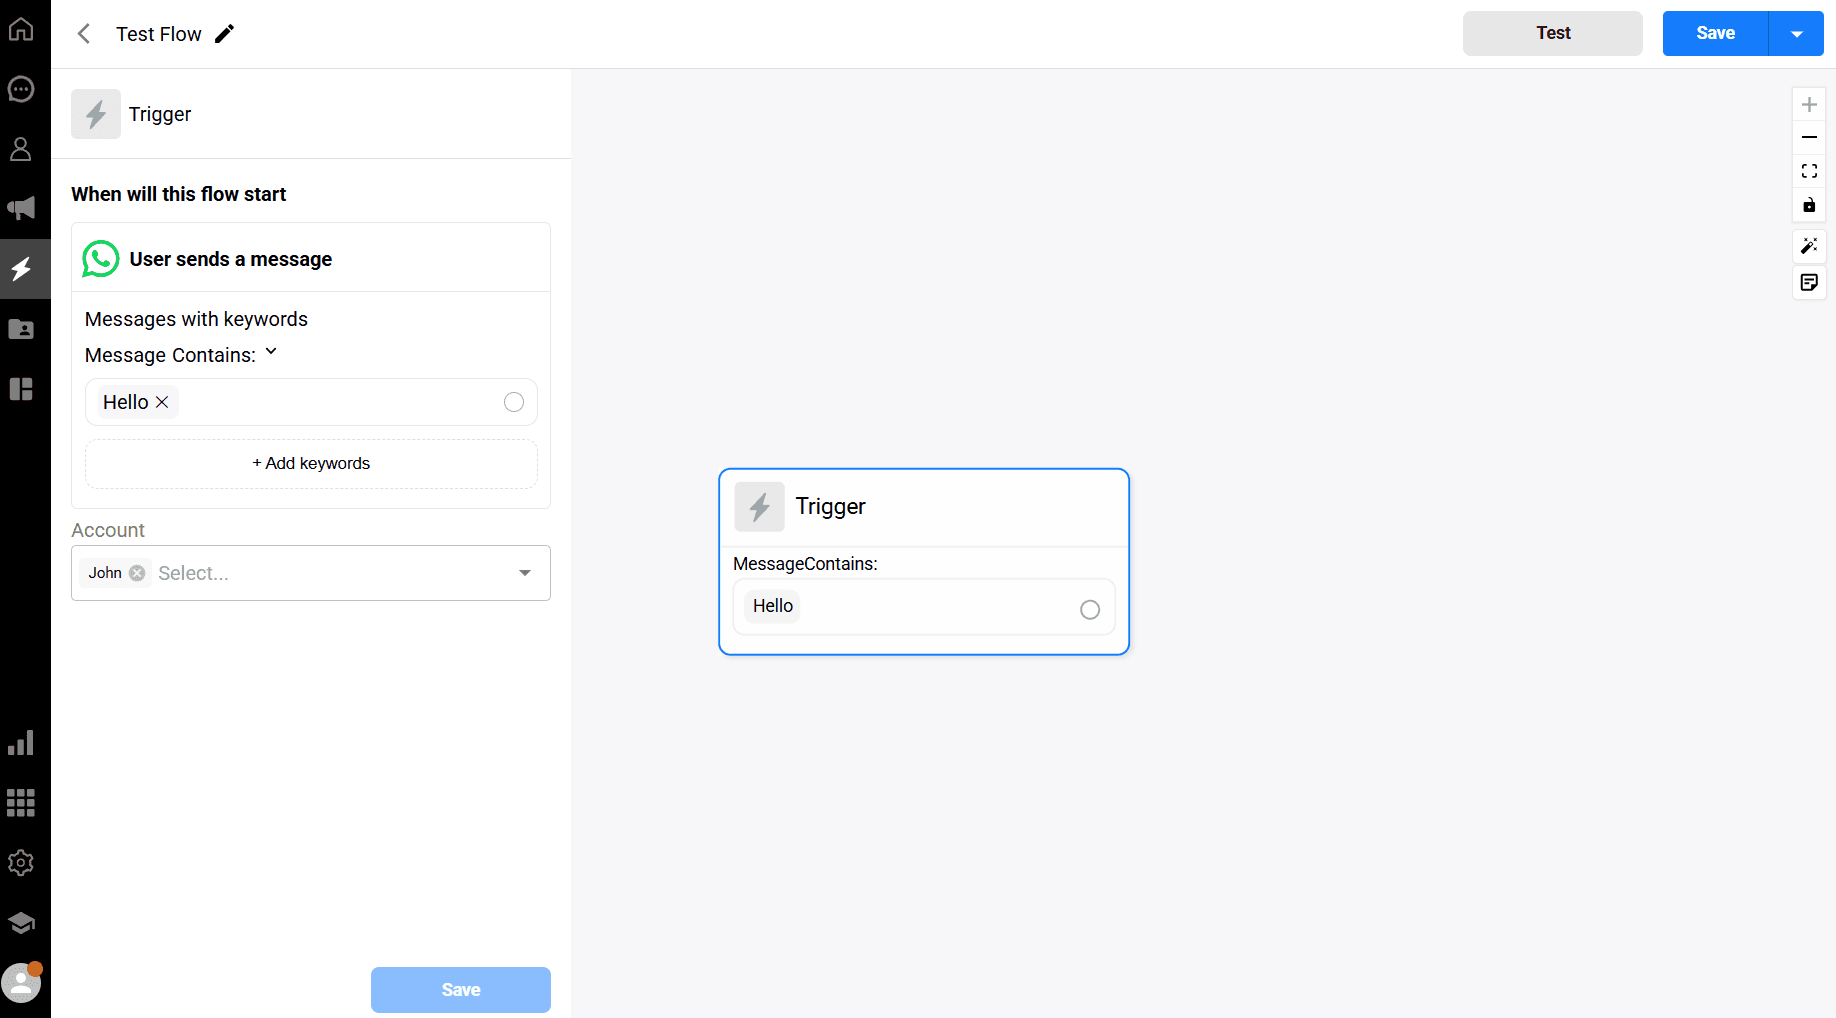
Example:
We choose:
User sends a message (WhatsApp)
We then define a keyword that triggers the bot.
Keyword: hello
You also select the account where this flow will run.
Click Save to apply the trigger.
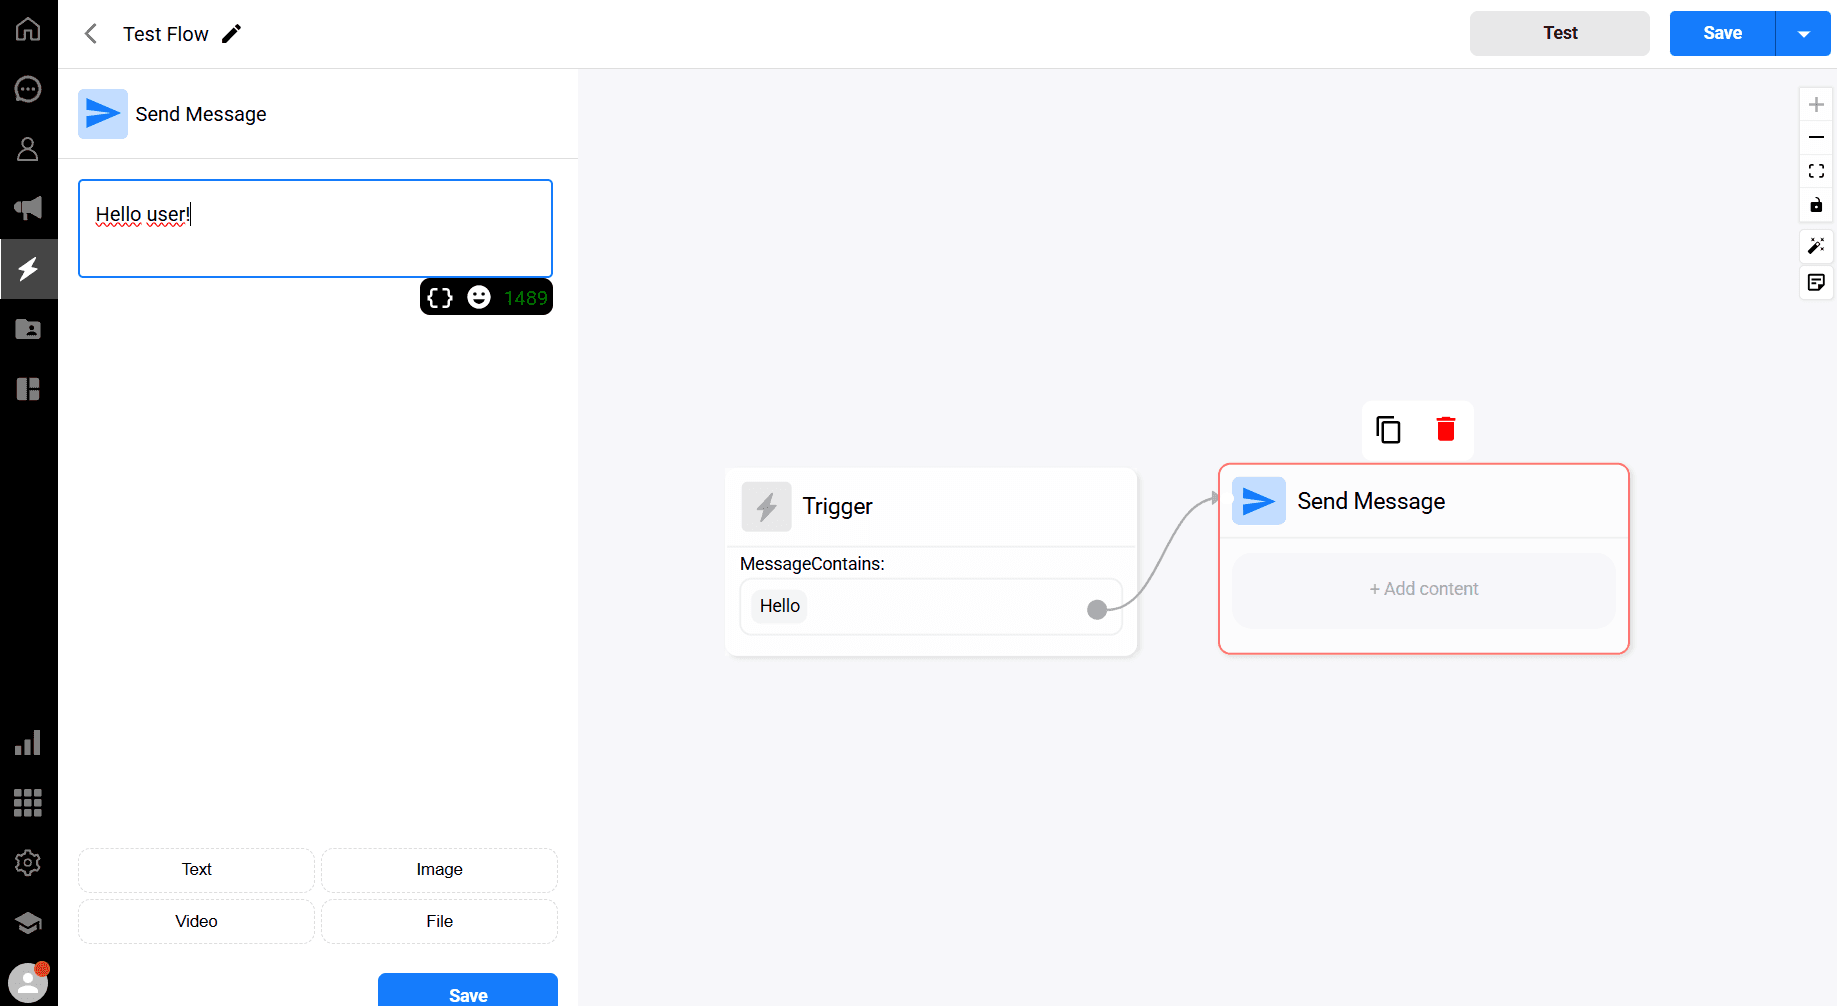
4. Designing the Flow
Once saved, your flow will appear visually as a canvas with nodes. Click on the empty node icon to add a new step. Here are the components you can use:
A. Send Message
Sends a predefined message to the user.
Options:
Text
Image
Video
File
Example: Type
hello userand click Save.
B. Ask Questions
Collects input from users through questions.
Options:
Question Type: Text
Enter a question
Save Response: Store user reply
Action on reply: What to do if answered correctly
Action if not responded: Fallback message after timeout
Action if invalid input: Guide user with another message
Timeout Duration: Set a limit (e.g. 1 minute)
C. Condition
Add conditional logic to control flow direction.
Example: “If user answered ‘yes’, go to X; if ‘no’, go to Y.”
D. Action
Execute backend tasks or CRM actions:
Add/remove tags
Assign to agent/team
Update custom fields
Modify consent status
E. Delay
Pause flow for a set duration.
Example: Wait 10 seconds before the next message.
F. WhatsApp
Send a message to a specific number via WhatsApp.
Input format:
0954XXXXXXXMessage limit: 1024 characters
G. HTTP Request
Integrate with external services via API.
Define:
Request Type (GET/POST)
URL
Headers
Response Mapping (e.g. if status 200 → success)
H. Start Flow
Link this bot to another flow.
Select:
Automation Name
Flow Step
5. Managing Your Flow Bot
On the Flow Bots page, you can:
Rename the bot
Duplicate it for variations
Delete it if no longer needed
Click the bot's name to edit the flow
These options are available via the three-dot menu on the right side of each flow entry.
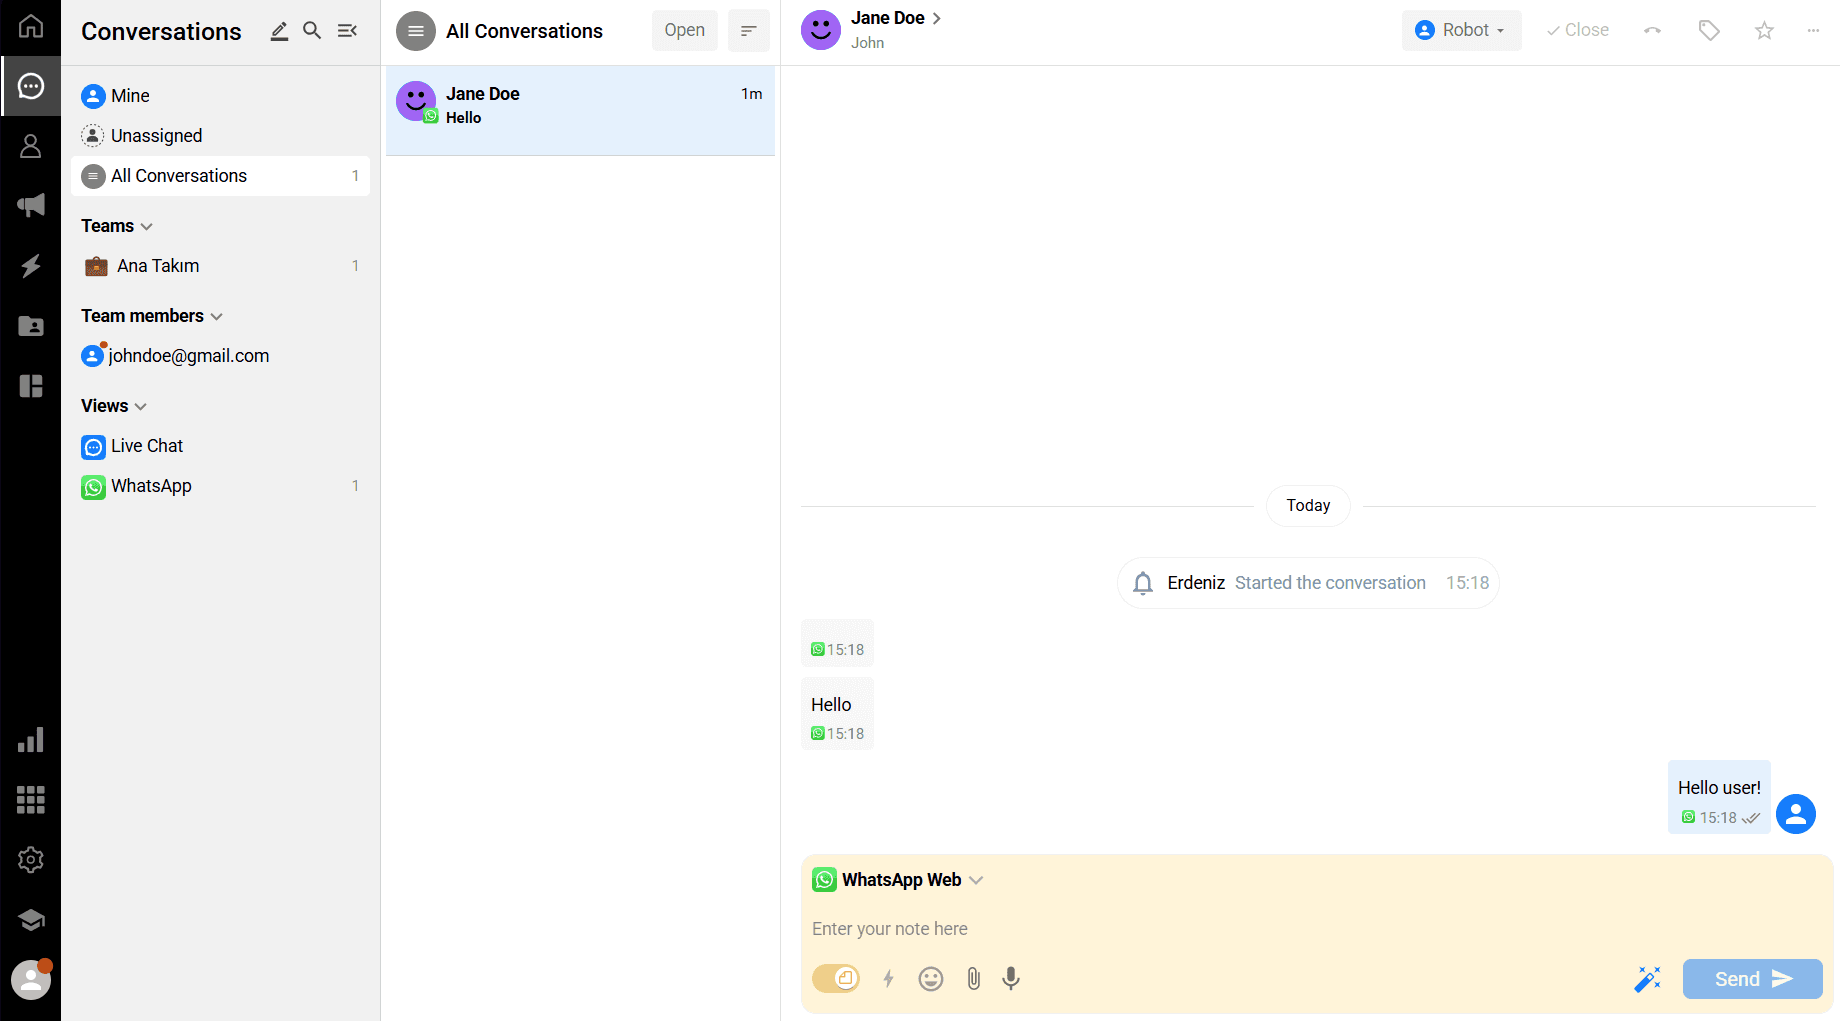
6. Testing the Flow
Once your flow is built, you can test it.
In our example:
Trigger: WhatsApp message with keyword "hello"
Response: Bot sends back "Hello user!"
Send a WhatsApp message with the word “hello” to the selected account. The bot will automatically respond.
Success: Your automation is working as expected.